 Step 3: You'll see a list of filters that says
Step 4: A drop shadow with the default parameters will immediately apply to your text. To the right of the filters list, you'll see the options to customize this filter.

Step 5: Clicking on the Angle will allow you to either enter a degree value or use the circle provided to adjust the angle of the drop shadow. Changing the angle basically means changing the direction of the imagined light source, thus changing the direction in which the shadow is cast.
 Step 6: Clicking the Distance will allow you to either enter in a numeric distance or use the slider to move the drop shadow closer or farther away from the text.

Step 7: Use the color picker to change the color of the shadow. Hey, for all you know shadows are pink in whatever planet this animation is on.
Step 8: Checking Knockout enables a pretty neat effect; the base text above the drop shadow instead becomes a cutout, erasing areas of the shadow that it overlaps to make them transparent.
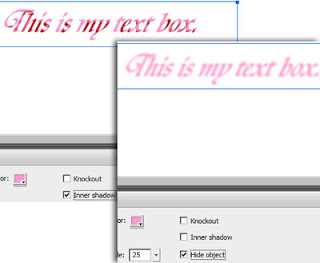
Step 9: Checking Inner Shadow changes the shadow type; normally the shadow is cast as an object behind the text, but changing it to an inner shadow means that the shadow is actually on the surface of the text, giving it illusions of depth.
Checking Hide Object will make the base text disappear to show only its shadow.
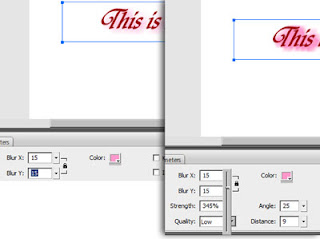
 Step 10:You can also adjust how blurry the shadow is; by default changing the value to make it crisper or softer will cause it to adjust both on X and Y parameters, but you can change the default setting so you can adjust them individually.
The Strength slider determines just how bold the color and opacity of the shadow are, and determines how bright it remains before it fades off to the edge.
The Quality dropdown lets you choose just how much detail will go into the shadow render.


0 comments:
Post a Comment